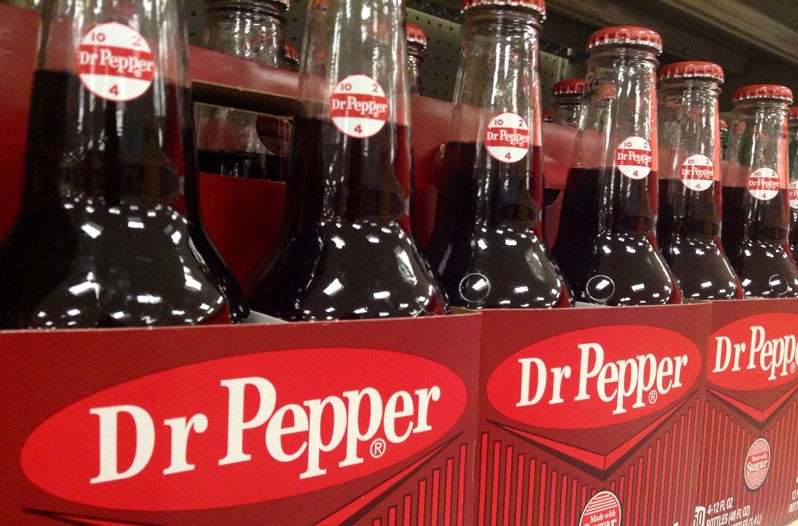
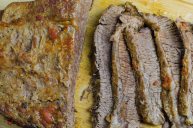
Thanks to Waco, Texas, and the brilliant pharmacist Charles Alderton, we can reward our taste buds with Dr Pepper. With it's 23 flavors, the bubbly soda makes not only a great drink, but a fantastic ingredient for many recipes. From pulled pork to brownies, here are five ways you should be using Dr Pepper in your kitchen.
Videos by Wide Open Country
Homemade Dr Pepper Barbecue Sauce
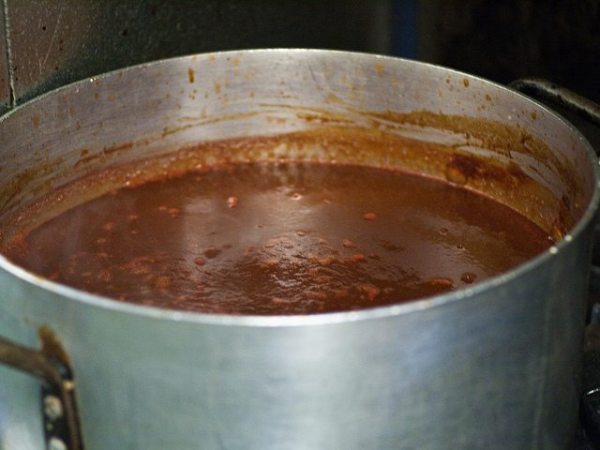
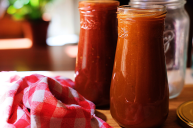
Barbecue is a staple in the south. From pulled pork to baby back ribs and from steak to chicken wings, barbecue sauce finds its way into almost any kind of recipe. What better way to create a sweet, flavorful sauce than using the 23 flavors of Dr Pepper?
This easy-to-make sauce makes about five cups, so you can store it in the fridge to use again and again. One thing to note is that if you're watching your sugar, diet Dr. Pepper will work just fine.
Ingredients
- 1 1/2 cup of Dr. Pepper (Remember, diet is OK)
- 1 large onion
- 4 cloves of garlic
- 1/2 stick butter
- 1/3 cup of cider vinegar
- 1/3 cup of Worcestershire sauce
- 1/4 cup of brown sugar (don't have any? You can substitute 1/2 cup of honey)
- 1 teaspoon of salt
- 1 teaspoon of cayenne pepper
You'll start by sauteing one large chopped onion with four chopped garlic cloves in 1/2 stick of melted butter on medium heat. Saute the onions and garlic for 10 minutes, making sure to stir it often. When the onions begin to brown, it's time to add the rest of the ingredients.
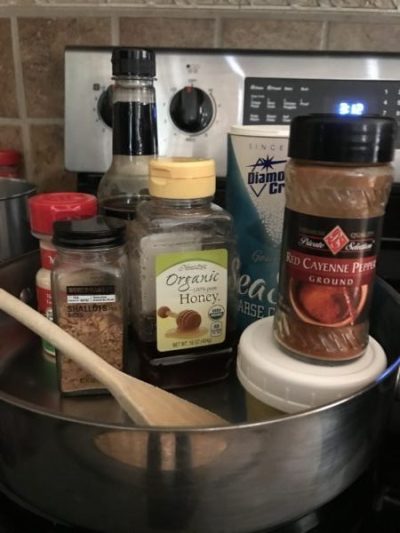
Now, you'll add one can of tomato paste to the garlic, butter, and onion mixture. Add all additional ingredients, then simmer the mixture for another 20-25 minutes before pulling the mixture off the stove. Once the mixture has cooled from boiling hot to warm, pour it into a food processor or blender. This will help thicken the sauce when blended on a low speed. Blend until the onions and garlic are fully mixed in. Once you've finished blending, pour the sauce back into the pan and simmer uncovered for another 20 minutes.
Now you're ready to enjoy! This sauce can have a shelf life of up to two weeks, so cover it tightly and store it in your fridge for later.
Slow Cooker Shredded Barbecue Pulled Pork
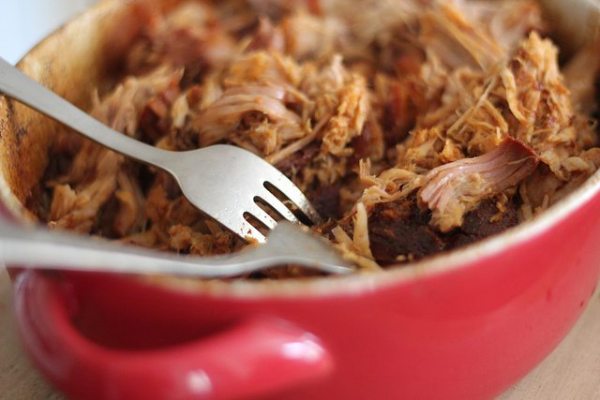
Just thinking about this recipe will make your mouth water. Dr Pepper barbecue pulled pork is a simple and easy recipe that will leave you wondering why you haven't heard of this before.
Slow cooker recipes are great because as the old saying goes, you can set it and forget it. Have a long day of work coming up? Set this recipe up in the morning and by the time you're home, it'll be ready to pull and eat!
Ingredients:
- 12 oz. can of Dr Pepper
- 1 pork shoulder roast
- garlic powder
- onion powder
- sea or rock salt
- 1 cup barbecue sauce
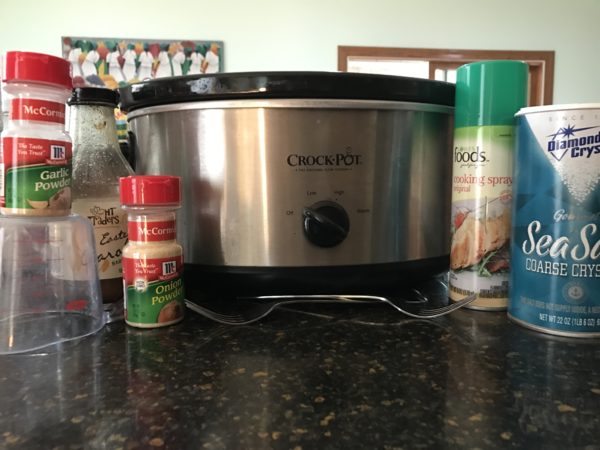
Once you've got your slow cooker out, spray the inside with a non-stick cooking spray or coat with a small piece of butter. Plug the slow cooker in, and begin to season your pork shoulder roast. This should be anywhere from 3 to 5 pounds. You can season the pork with whatever spices you like, but garlic powder and onion powder are great places to start. Any type of sea salt or rock salt (like Himalayan) will help season the pork too. Rub the seasonings onto the pork, and place it in the slow cooker.
Now it's time to grab that trusty Dr Pepper. The more soda you add, the more tender your meat will be. Pour 1/2 cup of barbecue sauce over the roast, and place the top of the slow cooker. You can cook the pork on high for four to six hours, or on low for seven to eight hours.
By the time the pork has fully cooked, the savory smell will be enough to make you want to eat it right then. Instead, grab two forks and get to shredding. The meat will be really tender thanks to the sauce, so the this should be very easy. Then, you can either pour another 1/2 cup of barbecue sauce over the pork and let it cook for a little bit longer. The other option is to grab some hamburger buns and load 'em up.
Dr Pepper Chili
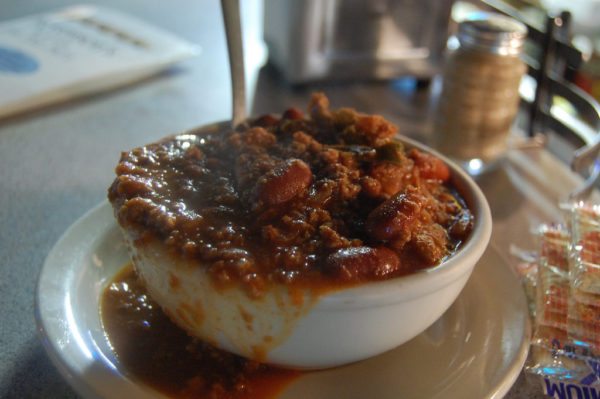
We've had a mild winter in the south this year, but that doesn't mean we can't enjoy a nice, hearty chili. This one can be enjoyed with either ground chuck or turkey.
Ingredients:
- 1 to 2 pounds of ground beef or turkey
- 1 onion (diced)
- 2 garlic cloves (minced). Minced garlic will also work, simply use 1 teaspoon of minced garlic from the jar
- 1 teaspoon of salt
- 1 1/2 teaspoons of chili powder
- 2 tablespoons of olive oil
- 1 teaspoon of cumin
- 1 cup of beef broth
- 2 chipotle chile en adobo sauce chopped finely
- 1 can of Dr Pepper (12 ounces)
- 28 ounce can of crushed tomatoes
- 14 ounce can of diced fire-roasted tomatoes
- 2 tablespoons of tomato sauce
- 1 can (15 ounces) of kidney beans, drained and rinsed
- 1 can (15 ounces) of pinto beans, drained and rinsed
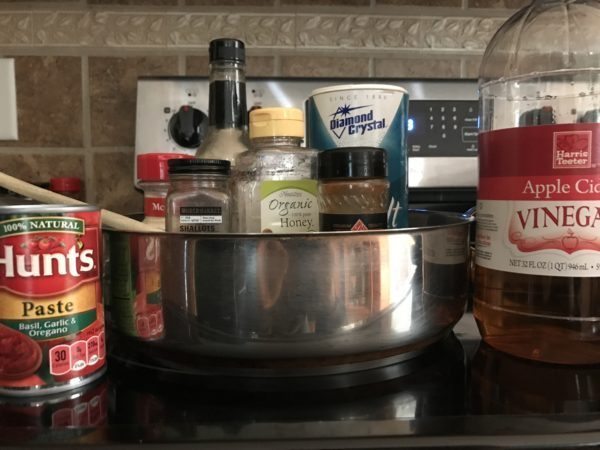
Make sure your skillet is large enough to hold the recipe. If you don't have a large skillet, it's OK to work in batches. Start by sauteing the onion and garlic in the olive oil, cooked over a medium-high heat. Once they've softened, you can begin to add your spices and seasonings. Stir until combined, which should take only a minute or two. Add the ground beef or turkey, break up and cook until browned. The juices from the meat will mix in with the combined sauce and seasoning from step one. Reduce the heat to let the meat soak up the sauce. Then, add the beef broth, crushed tomatoes, diced tomatoes, Dr. Pepper, and tomato paste.
Next, it's time to let the chili simmer and thicken for 30 minutes. When there is five minutes left on the timer, add the beans so they can heat through. Instead of letting the chili simmer on the stove for 30 minutes, you can also transfer it to a slow cooker. Cover the chili, and let it cook on low for up to 8 hours. To give it a little extra kick, you can pour in another half can of Dr Pepper before you serve it.
Dr Pepper Glaze for Baked Ham
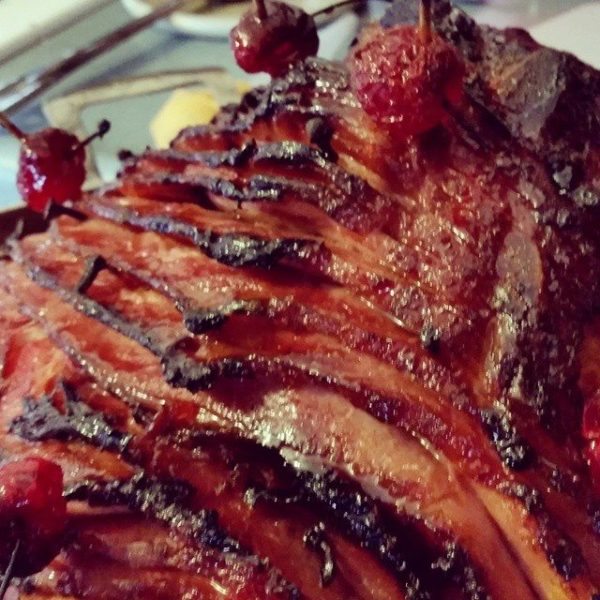
Baked ham is a holiday staple. Trade your traditional brown sugar glaze for this Dr. Pepper glaze, and your taste buds will celebrate. This glaze is easy to whip up, but don't let that fool you into thinking it won't add the perfect touch to your baked ham. The recipe makes enough glaze to cover a ham that is 7 - 10 pounds.
Ingredients:
- 2 tablespoons orange juice
- 1/2 can Dr Pepper
- 3/4 cup brown sugar
- 2 tablespoons mustard
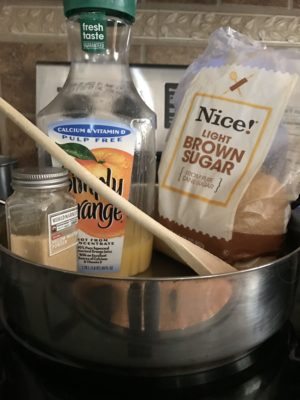
Begin by adding the orange juice, brown sugar and Dr Pepper to a sauce pan. If you're looking to make a little extra, bump the sugar up to 1 cup and add more Dr Pepper too. Stir in mustard (dijon or three tablespoons of mustard powder) and bring the mixture to a boil for a couple of minutes before reducing to medium heat. As it begins to take a syrup-like texture, turn the heat down to low and let it simmer for five minutes.
When your ham has 20 minutes left on its timer, take it out of the oven so you can coat it with the glaze. Be sure to coat all areas! Return it to the over for the remainder of the 20 minutes, allowing it to cook so the glaze becomes sticky. Take the ham out of the oven and brush the rest of the Dr. Pepper glaze. Let it sit covered in foil for another 30 minutes outside of the oven, then enjoy!
Dr Pepper Brownies
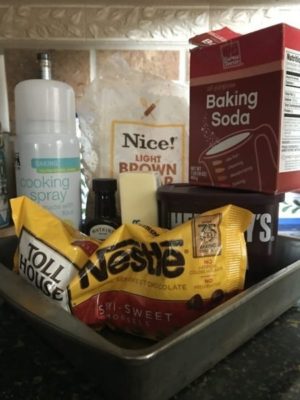
There's no way we could leave a dessert recipe out. For anyone with a sweet tooth craving Dr Pepper, this recipe is perfect. These brownies can be made from scratch, but you can also use a brownie mix. If using a mix, substitute 8 ounces of Dr Pepper for water and throw in a dash of cherry extract.
Ingredients:
- 2 cups flour
- 2 cups sugar
- 3 tablespoons cocoa powder
- salt
- 1 teaspoon baking soda
- 8 oz. Dr Pepper
- 2 sticks of butter
- 1 cup chocolate chips
Preheat the oven to 350 degrees. While you wait for it to heat up, lightly spray an 8 inch square pan. Mix flour, sugar, cocoa powder, a pinch of salt, and baking soda. Begin to heat your Dr Pepper with 2 sticks of butter in a sauce pan. Be careful not to bring it to a boil. Stir the butter and soda mixture until it's smooth, and then add in the chocolate chips. Feel free to go overboard with them if you like a fudgey texture to your brownies.
Mix the chocolate chips into the Dr. Pepper and butter mixture until it's smooth again. Then, add in the dry ingredients and stir away. Pour the brownie mix into your lightly greased pan, and place it in the oven for 20-25 minutes. Then, poke the brownies with a knife or toothpick to make sure it's cooked all the way through. Now it's time to indulge.
