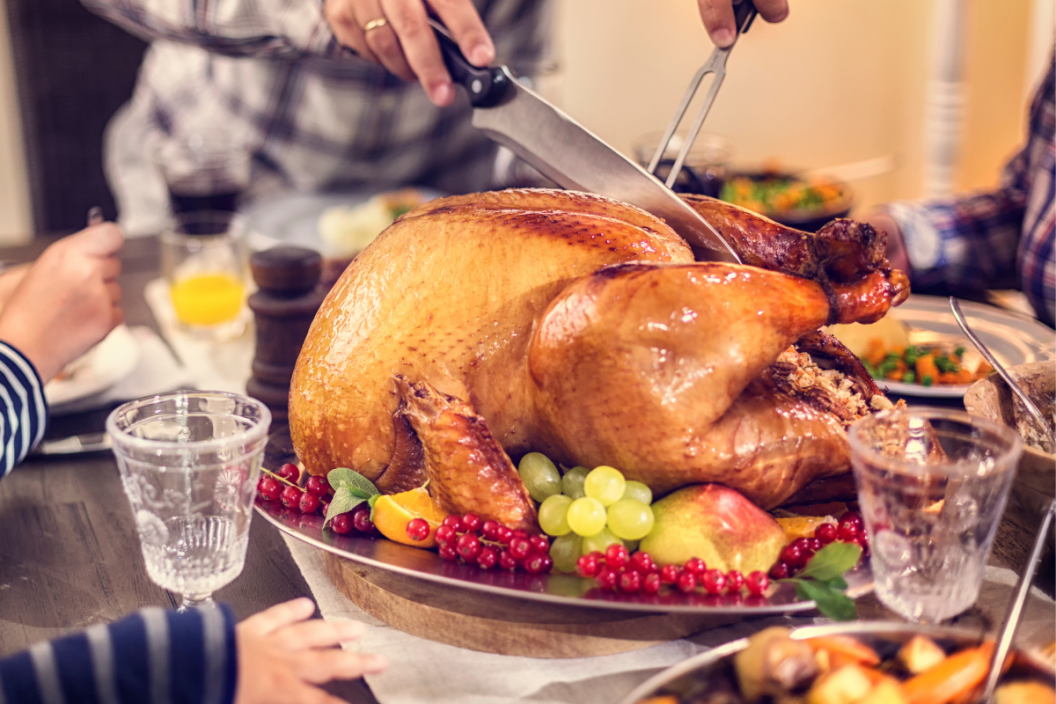
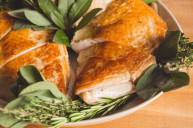
A Thanksgiving turkey is the most quintessential parts of this autumnal holiday, and considered by many to be the center of the meal, delicious with cranberry sauce and mashed potatoes. However, as much as we love a roast turkey with gravy and stuffing, it can be an intimidating task to cook and carve one of these giant birds. Here's how to carve a turkey for your Thanksgiving feast.
Videos by Wide Open Country
To carve a turkey, you need a large sharp knife, a large cutting board, a serving platter, tongs and paper towels. You can buy a carving knife if you like, but a sharp chef's knife will work just fine. It's best to carve your turkey one side at a time to avoid flipping or turning it throughout the process.
How Do you Carve a Turkey Step-by-Step?
1. Set Up Your Carving Station
Once your turkey is roasted and ready to go, it's time to set up your carving station, which is essential to carving your turkey the right way. Place a towel beneath your carving board to stabilize it, then put the turkey on. Make sure you have plenty of space and your serving platter, paper towels, chef's knife and tongs nearby. Use the tip of your knife to remove the trussing string, and position yourself so that you're facing the turkey's legs.
2. Remove the Leg and Thigh
First, you'll take off the turkey leg and thigh together by cutting through the skin that connects the drumstick and breast. Cut until you hit the bone. Then, wash your hands on either paper towels or a clean kitchen towel. Move the leg up and down until the joint pops off, then press down on the joint until fully severed. Remove the leg by running the knife between the thigh and back bone. Place leg and thigh on your serving platter.
3. Remove the Breast
To take off the turkey breast, cut through the turkey skin along the side of the breastbone, starting at the neck joint and wishbone. Slice through the breast meat, taking off as much meat from the rib bone as you can. Place turkey breast on the platter.
4. Remove the Wing
To remove the turkey's wing, pull the wing back and cut at the wing joint, moving the wing up and down if necessary. Add to the platter.
5. Repeat!
You've carved one side of the turkey, now it's time for the other. Turn the turkey or move positions to reach the other side, and repeat steps 2 through 4, removing the leg, thigh, breast and wing.
6. Clear Carving Station
Move the turkey carcass, either placing it back into the roasting pan or into a pot to make stock with. Wipe down the cutting board, clearing space for more turkey carving.
7. Separate the Drumsticks
Separate the drumsticks from the thighs, and place the turkey leg pieces skin-side up. Slice through the thigh and drumstick, with at the joint. Do this with the other leg as well, and then place drumsticks on the platter.
8. Cut Into Serve-able Pieces
Although the hard part is done, you can't really serve an entire breast or thigh to your guests. To make your turkey easier to serve, cut the thigh meat off the thigh bone and into smaller pieces. Then, cut the breasts, placing them skin-side up on the board and cutting at an angle, into smaller pieces.
9. Serve and Enjoy!
Carving your turkey will make it much cooler, so you don't want to do it unless it's time to eat. You can also cover your carved turkey and keep in a warm oven if the table isn't quite ready. Happy Thanksgiving!
