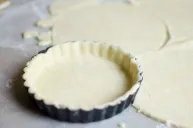
We think of pie as being something we reserve for Thanksgiving or Christmas, but pie is good any time of year. It's even worth turning on your oven in summer to make delightful pies and tarts using the best of summer's bounty. But homemade pie crust can be intimidating. It seems like it's hard to get the best flaky pie crust, but we promise that the best way how to make pie crust is also an easy way.
Videos by Wide Open Country
The basic pie crust recipe, no matter whether it's a single crust pie or double crust pie, is the same: flour, fat, liquid, and a bit of salt. But the type of flour, fat, and liquid matter and the process of how to make pie crust is a little bit of an art and a lot of science.
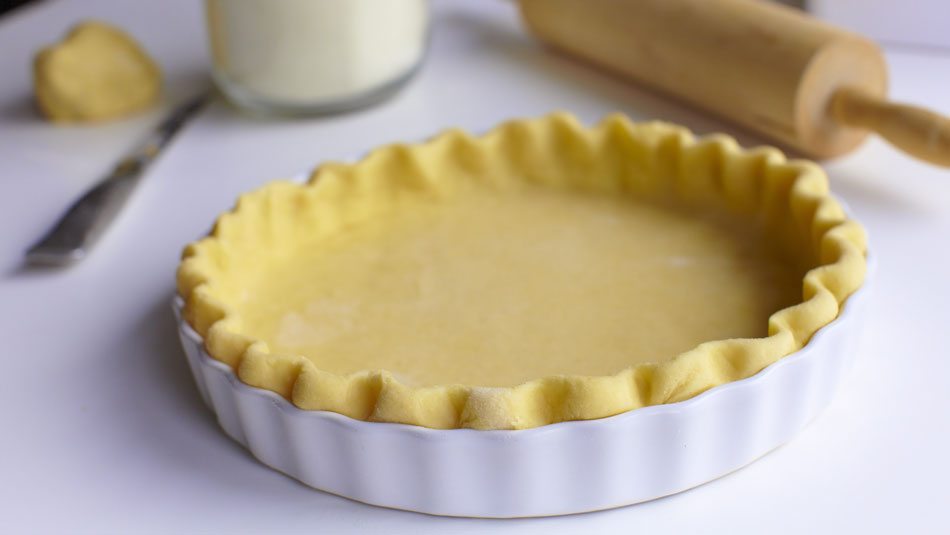
It only takes some practice (you can always invite us over to try those practice pies!), and to make it even easier, we've got 10 tips that will take you through how to make pie crust perfectly every time.
Tips for How to Make Pie Crust
1. Cold is good.
Cold is key for pretty much every step of how to make pie crust right until the crust goes in the oven. Whatever fat and liquid you use, it needs to be super cold. The reason is, when fat melts in a baked good, it creates steam. That steam is what helps create flaky layers in a pie crust. If the fat melts too quickly, or before the crust goes in the oven, your pie crust won't turn out flaky and tender. If you're using a metal mixing bowl, you can also chill it first to help keep the ingredients cold.
2. Use the right fat.
Because you want a fat that stays solid, it's best not to use a liquid oil like vegetable or coconut oil in a pie crust. Unsalted butter, vegetable shortening like Crisco, or lard is your best bet for a tender, flaky, and tasty crust. Butter is, well, all butter and nothing tastes better. But it does melt faster than shortening, which is why shortening is often the fat of choice for pie bakers. Lard is also an excellent choice because it has the highest melting point of all three and more flavor than shortening.
3. Use the right flour.
Unlike many baked goods, you want to use a low protein flour in your pie crust. High protein flour has more gluten (it's what makes bread, bread), and since you don't want your pie crust to be bread-like, a lower protein flour works best. Plain old All-Purpose flour is good, but pastry flour is even better. Pastry flour makes for a delicate dough, so it may take a little extra practice to perfect it.
4. It doesn't matter how you mix the dough.
You can use a food processor, a pastry cutter, a couple of forks, or your fingers to mix the flour and fat together. Whirling the dough up in a food processor is easy and a cinch to clean up, but mashing things up with a pastry cutter or squishing butter and flour together with your fingers can be therapeutic. Whatever you find easiest or have on hand is fine.
5. Grab the vodka or vinegar.
Of course, you need some liquid to bind the flour and fat together, but it takes just a tiny bit. One trick is to replace half the ice water with vodka (ice cold from the freezer). Vodka provides binding moisture, but it evaporates more quickly and doesn't encourage gluten to form like water does when it meets flour. The result is a flaky crust.
6. Don't overdo the mix.
Some larger bits of butter or shortening are fine in your pie dough. In fact, those larger bits help create the flaky layers by creating more steam when they melt. Once the dough comes together, form it into a flat ball, wrap it in plastic wrap, and let it chill in the fridge or freezer again.
7. Keep the roll even.
When you roll the pie crust dough out on a lightly floured surface, turn it a quarter round every roll. You want to keep a round shape without having to over-roll the dough and so that the crust ends up uniformly even.
We love using a rolling pin with tapered edges, it's better for the dough and easier on your hands.
8. Don't force the dough.
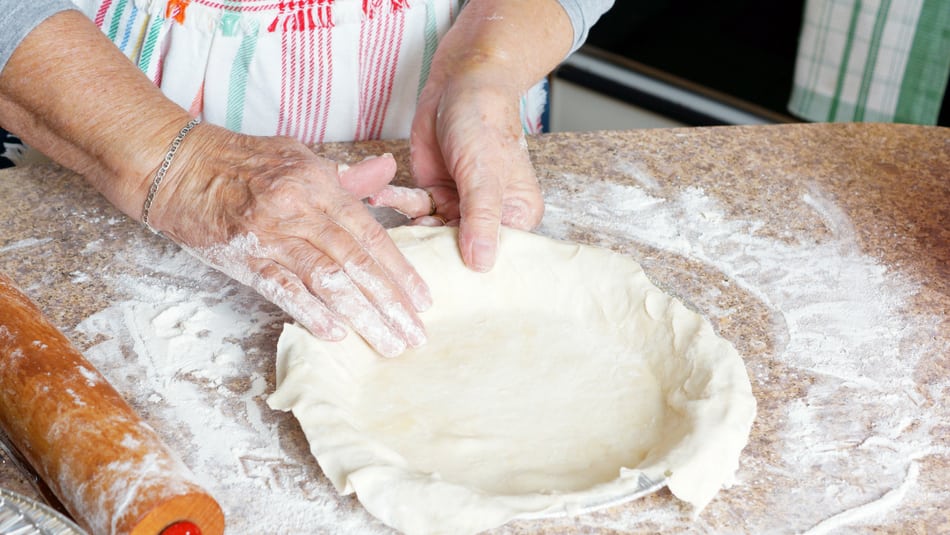
Moving the pie dough from the counter to the pie pan is tricky. You can carefully roll the crust dough around your rolling pin to help shift it. Once you have the dough over the pan, carefully drop it and drape it. Don't push and pull it to get it to fit; that only stretches the dough and it will pop back as it bakes.
9. Keep things chill.
By the time you've rolled the pie dough out, it's started to come to room temperature. Chill the pie crust in the pan before it goes into the oven, at least 30 minutes in the refrigerator or freezer, to give the fat a chance to harden up again.
10. Cover the edge of the crust with foil to keep from browning.
If the edges of your crust brown faster than your pie cooks, cover them with strips of aluminum foil. You can start the pie off with the edge of the pie plate covered, just remember to take the foil off 15 minutes or so before the baked pie comes out of the oven so that the entire crust is golden brown.
Now that you know how to make pie crust, we've got a summer recipe you'll want for practicing your perfect crust making skills.
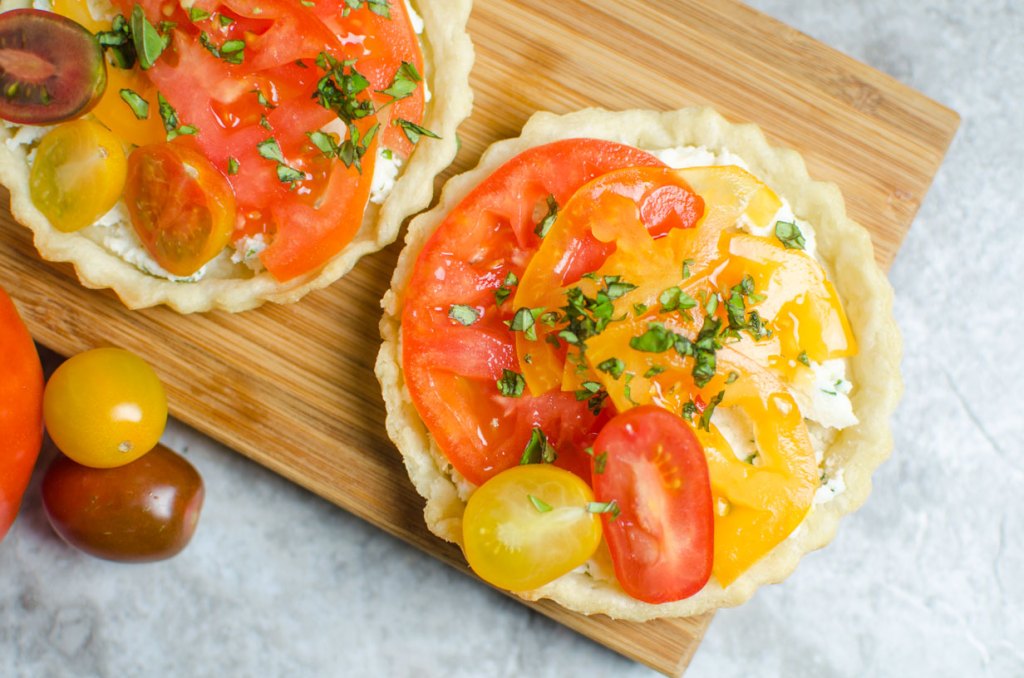
Individual Tomato Tarts
Lyndsay Burginger
This pie recipe is the epitome of late summer. It's a delicious way to use up those few too many tomatoes you picked up at the market. You can make it as an afternoon snack, an appetizer for a party, or pair it with a green salad (and maybe a fruit pie) for a complete meal.
Get the recipe here.
