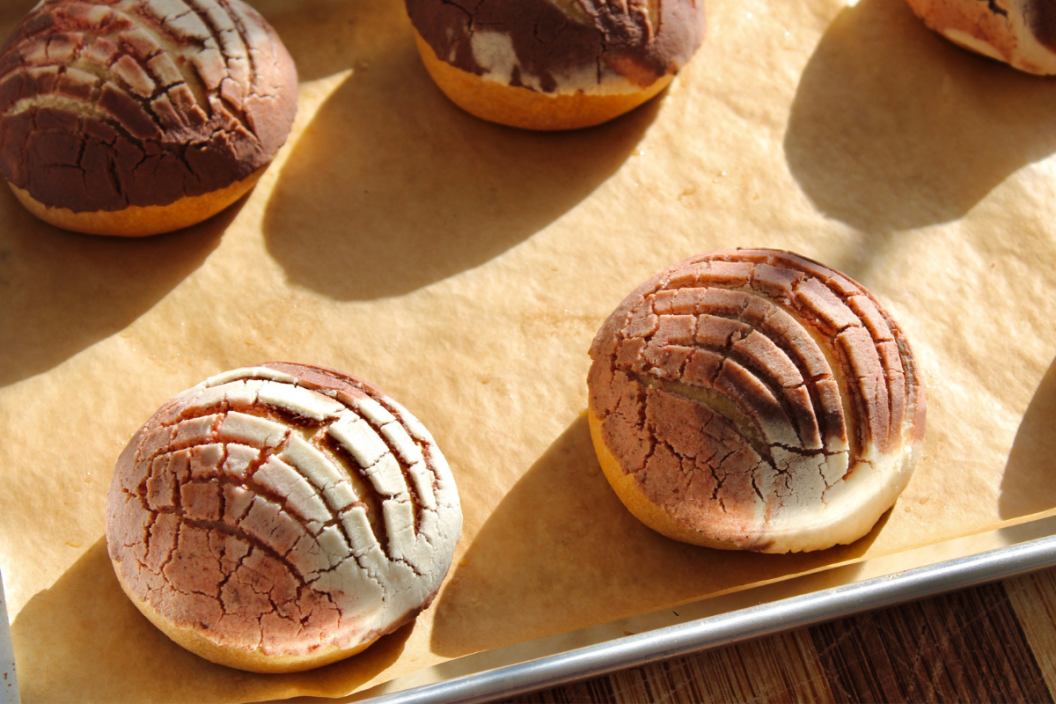
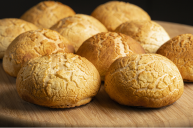
If you are at all familiar with Mexican pan dulce, you know of the concha. A popular and beloved sweet bread, the concha is an enriched dough shaped into rounds that are topped with a sweet cookie dough-like topping that's then scored to resemble a seashell, or concha. The result after baking is a soft, pillowy sweet bread with a slightly crunchy seashell hat.
Videos by Wide Open Country
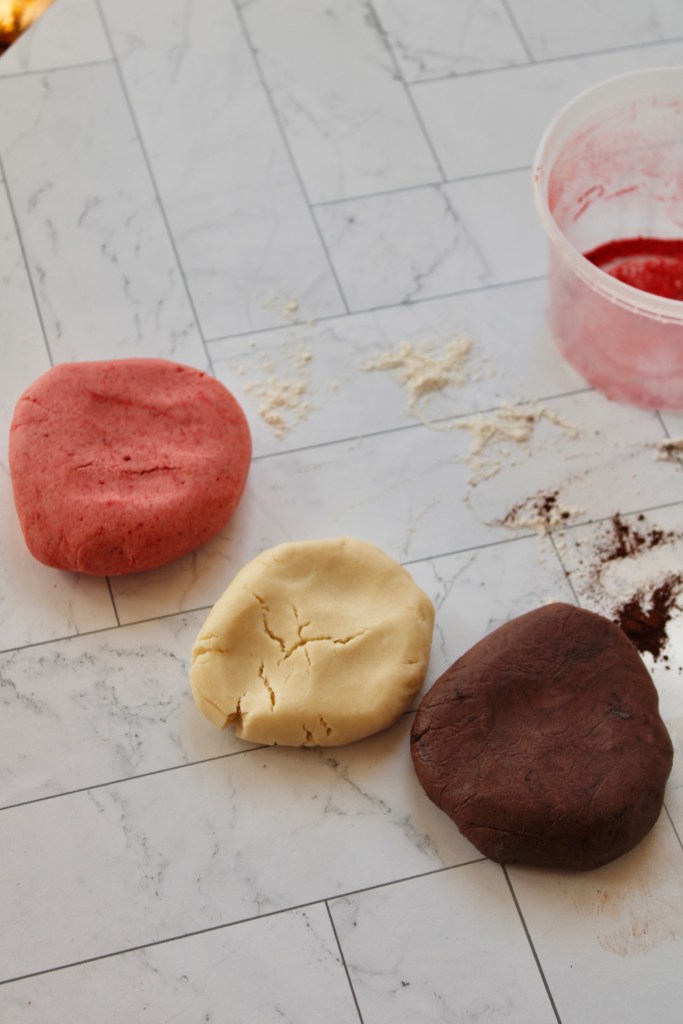
Here I've opted for a classic Neapolitan flavor, a trifecta of vanilla, chocolate from cocoa powder, and strawberry using crushed freeze-dried fruit. To crush freeze-dried fruit, place about ½ cup of the fruit whole into a food processor and pulverize until finely crushed. You can also place the fruit inside of a large plastic bag and crush it using a rolling pin.
Essential Tools Needed to Make a Concha Recipe
Teresa Finney
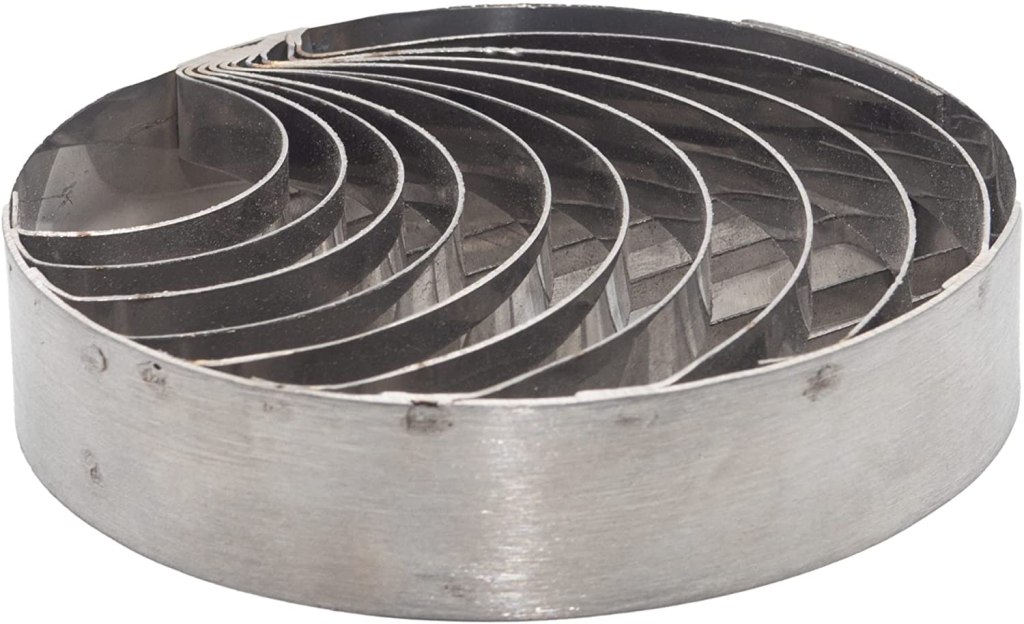
Other than breadmaking essentials such as a large bowl or stand mixer, conchas require a special cutter tool to make the distinctive shell design on the top of the sweet bread. While you can make the cuts with a knife, a concha cutter makes the work easy and perfect every time.
Concha Cutter Mexican Bread Tool
How Do You Eat Conchas?
Teresa Finney
The most popular way to each concha is dipping it into a big mug of Mexican hot chocolate or cold milk. Some people like to spread their conchas with "natas" which are essentially warm milk skins.
Conchas are best eaten the day they are baked, preferably just a few minutes after they come out of the oven. Conchas will keep for about two days (three, if you don't mind a slightly stale concha) in an airtight container on your kitchen counter or elsewhere the conchas can stay at room temperature.
You will probably have a small amount of dough left for a 15th concha in this recipe, about 25 grams of dough; I typically bake it along with the rest of the conchas and have it for a snack.
READ MORE: San Antonio Named Mexican Cuisine Capital of Texas
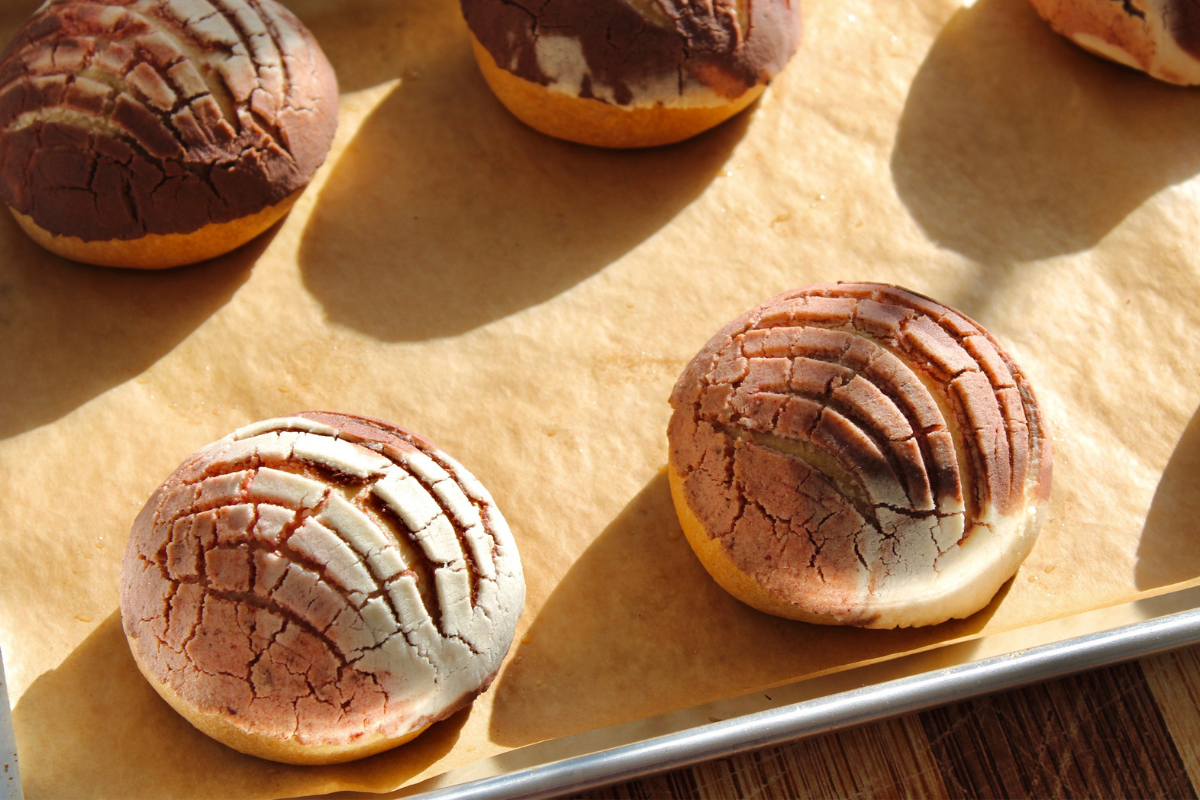
Neapolitan Concha
Ingredients
- 1 tablespoon granulated sugar
- 1/2 cup full-fat milk warmed in microwave for 20 seconds, or heated until 99F
- 2 1/2 cups bread flour
- 1 cup whole wheat flour
- 1/2 cup granulated sugar
- 1 teaspoon kosher salt
- 10 Tablespoons unsalted butter room temperature
- 3 large eggs
- 1 large navel orange, zested
- 1 cup all-purpose flour
- 1/4 cup granulated sugar
- 1/2 cup Confectioners' sugar
- 1/2 cup vegetable shortening
- 1/4 teaspoon kosher salt
- 1 teaspoon vanilla extract
- 1/2 tablespoon Dutch-processed unsweetened cocoa powder
- 1/2 tablespoon crushed freeze-dried strawberries
Instructions
- Preheat your oven to 200F. This is just to create a warm environment for the dough to rise in. Weigh out or measure the yeast and the granulated sugar. Sprinkle all of the active dry yeast and a tablespoon of the sugar into a small bowl. Pour in the warmed milk and give everything a whisk. This step activates the yeast.
- In the bowl of a stand mixer, weigh out or measure both flours, add the remaining granulated sugar, and the salt; whisk to combine. Secure the mixer bowl and the dough hook attachment to the stand mixer.
- Once the yeast has bloomed, about 5-7 minutes, it's time to mix. With the mixer set on low speed, drop the butter into the bowl by the tablespoon. The butter will break up as the mixer does its thing. Once all the butter is in, add the eggs one at a time. Using a rubber spatula, push down any of the dough that has gathered around the sides of the bowl.
- Now is a good time to turn off your preheated oven. Pour the bloomed yeast into the stand mixer bowl. Adjust mixing speed to medium and let the dough mix for a good 7-10 minutes. At first, the dough will look quite wet but resist the urge to add in more flour. As the dough continues mixing gluten will develop and eventually will pull away from the sides of the bowl. Scrape down the sides of the bowl with the rubber spatula and let the mixer mix.
- Once the dough has pulled away from the bowl, turn off the mixer and knead by hand just for an additional 5 minutes or so. The dough should feel soft and a bit sticky. When kneading the dough it's okay if it sticks to your work surface; again, don't worry about adding more flour. Too much flour will lead to dry conchas.
- Spray a large mixing bowl with cooking spray and transfer the dough to the bowl. Cover the bowl with plastic wrap, then cover the plastic wrap with a kitchen towel. Set the dough into your warmed oven for its first rise; the dough will double in size in about 1 ½ to 2 hours.
- While the dough is proofing, make the topping. In a mixing bowl add the flour, both sugars, vegetable shortening, salt, and vanilla extract. Using your fingers or a pastry cutter, cut the shortening into the dry ingredients the same way you would if making pie dough. Mix and knead the mixture until it has homogenized and feels like Play-Doh. The dough is very forgiving; if it is feeling too moist, add in more flour a tablespoon at a time. If it's feeling too dry and crumbly, add in a little bit more shortening.
- Once the topping dough has a Play-Doh consistency, divide it into three mostly equal pieces. Wrap the plain vanilla topping with plastic wrap. Take one of the topping pieces and sprinkle on the cocoa powder. Mix the cocoa powder completely into the topping dough and cover with plastic wrap. Repeat the process with the remaining topping piece and the crushed freeze-dried strawberries.
- After 1 ½ - 2 hours and the dough has doubled in size, remove from the oven and place it on your un-floured work surface.
- Shape the concha dough into 14 equal-sized balls that weigh 70 grams each. To shape the dough into balls, break off a piece of concha dough. Cup one hand into a C-shape and roll the dough on your un-floured work surface in a circular motion. (The lack of flour will create tension between your work surface and the dough, helping it to form into a ball.) Repeat this process with the remaining dough balls.
- Once the dough has been shaped into 14 balls, line them on two large baking sheets about two inches apart. Gently press down on each concha ball, then brush the tops of each with either melted butter or an egg wash of 1 egg yolk + a splash of heavy cream. Cover the baking sheets with kitchen towels while you work on the shell topping to prevent the concha balls from drying out.
- Gather the three topping pieces now. Break off about 7 grams of each and roll them together to combine into one ball that weighs about 21 grams. This doesn't have to be exact; just break off enough of each topping dough to cover the concha.
- Take one concha topping piece and place it between one large piece of plastic wrap. Fold over one side of the plastic to cover the topping. Using a pie plate (or a tortilla press if you have one), flatten the concha topping piece, peel away the plastic wrap, then firmly press the topping on top of one concha ball. Continue with the remaining concha topping pieces until all conchas are covered.
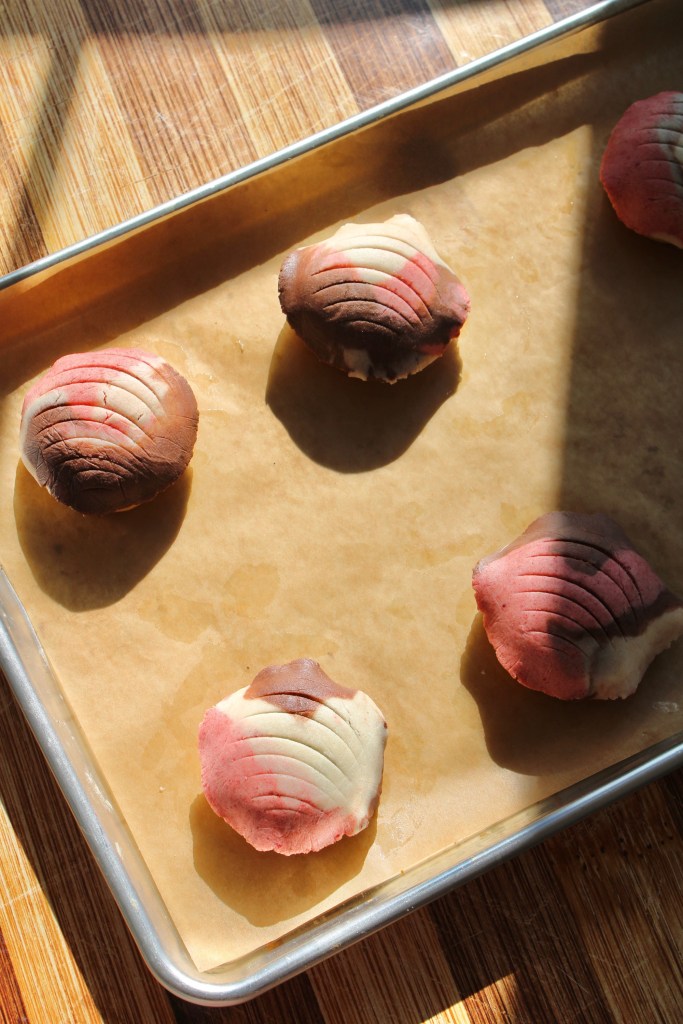
- Using either a paring knife or a concha cutter, cut a concha/seashell design into the topping. Make sure to only cut through the topping and not into the concha itself. Continue with the rest of the concha toppings.
- Heat your oven to 350F.
- Once all concha toppings are scored, drape kitchen towels over both baking sheets and let the conchas rise a second time in a warm environment until doubled in size, about 45 minutes to 1 hour.
- Bake conchas one baking sheet at a time for 20 minutes. You should be able to smell the yeasty bread; the bottoms of the conchas should be browned nicely. Let conchas cool just slightly before transferring to a cooling rack and eating.
